Using Apple Business Manager with Blue Cedar-integrated apps
What is Apple Business Manager?
Apple Business Manager is a simple, web-based portal for IT administrators that provides a fast, streamlined way for you to deploy Apple devices that your organization has purchased directly from Apple or from a participating Apple Authorized Reseller or network provider. You can automatically enroll devices in your mobile device management (MDM) solution without having to physically touch or prepare the devices before users get them.
Using your MDM, you can simplify the setup process for users, configure device settings, and distribute apps and books you purchase in Apple Business Manager.
Supported browsers
Safari in iOS 12 or later or iPadOS 13.1 on iPad
Safari 9 or later on macOS
Google Chrome 35.0 or later
Microsoft Edge on Windows
Specific organization and financial details are required to gain access to and use Apple Business Manager. Please see the following page for more details:
https://support.apple.com/en-gb/guide/apple-business-manager/asm6d9dc7acf/web
Using Apple Business Manager with Blue Cedar-integrated apps
Apps integrated with security controls (such as Blackberry Dynamics or Microsoft Intune) are fully compatible with Apple Business Manager and do not require any specific changes to the app. The latest Blackberry Dynamics 9.x SDK is required for an app to be successfully approved by Apple: as of May 2021, all Blue Cedar Platforms are using the latest 9.x Blackberry SDK.
Step-by-step guide
Before proceeding, integrate the required apps using your Blue Cedar console. The rest of the process requires access to Apple Business Manager and iTunes Connect and the Apple Transporter app which is available to download from the App Store.
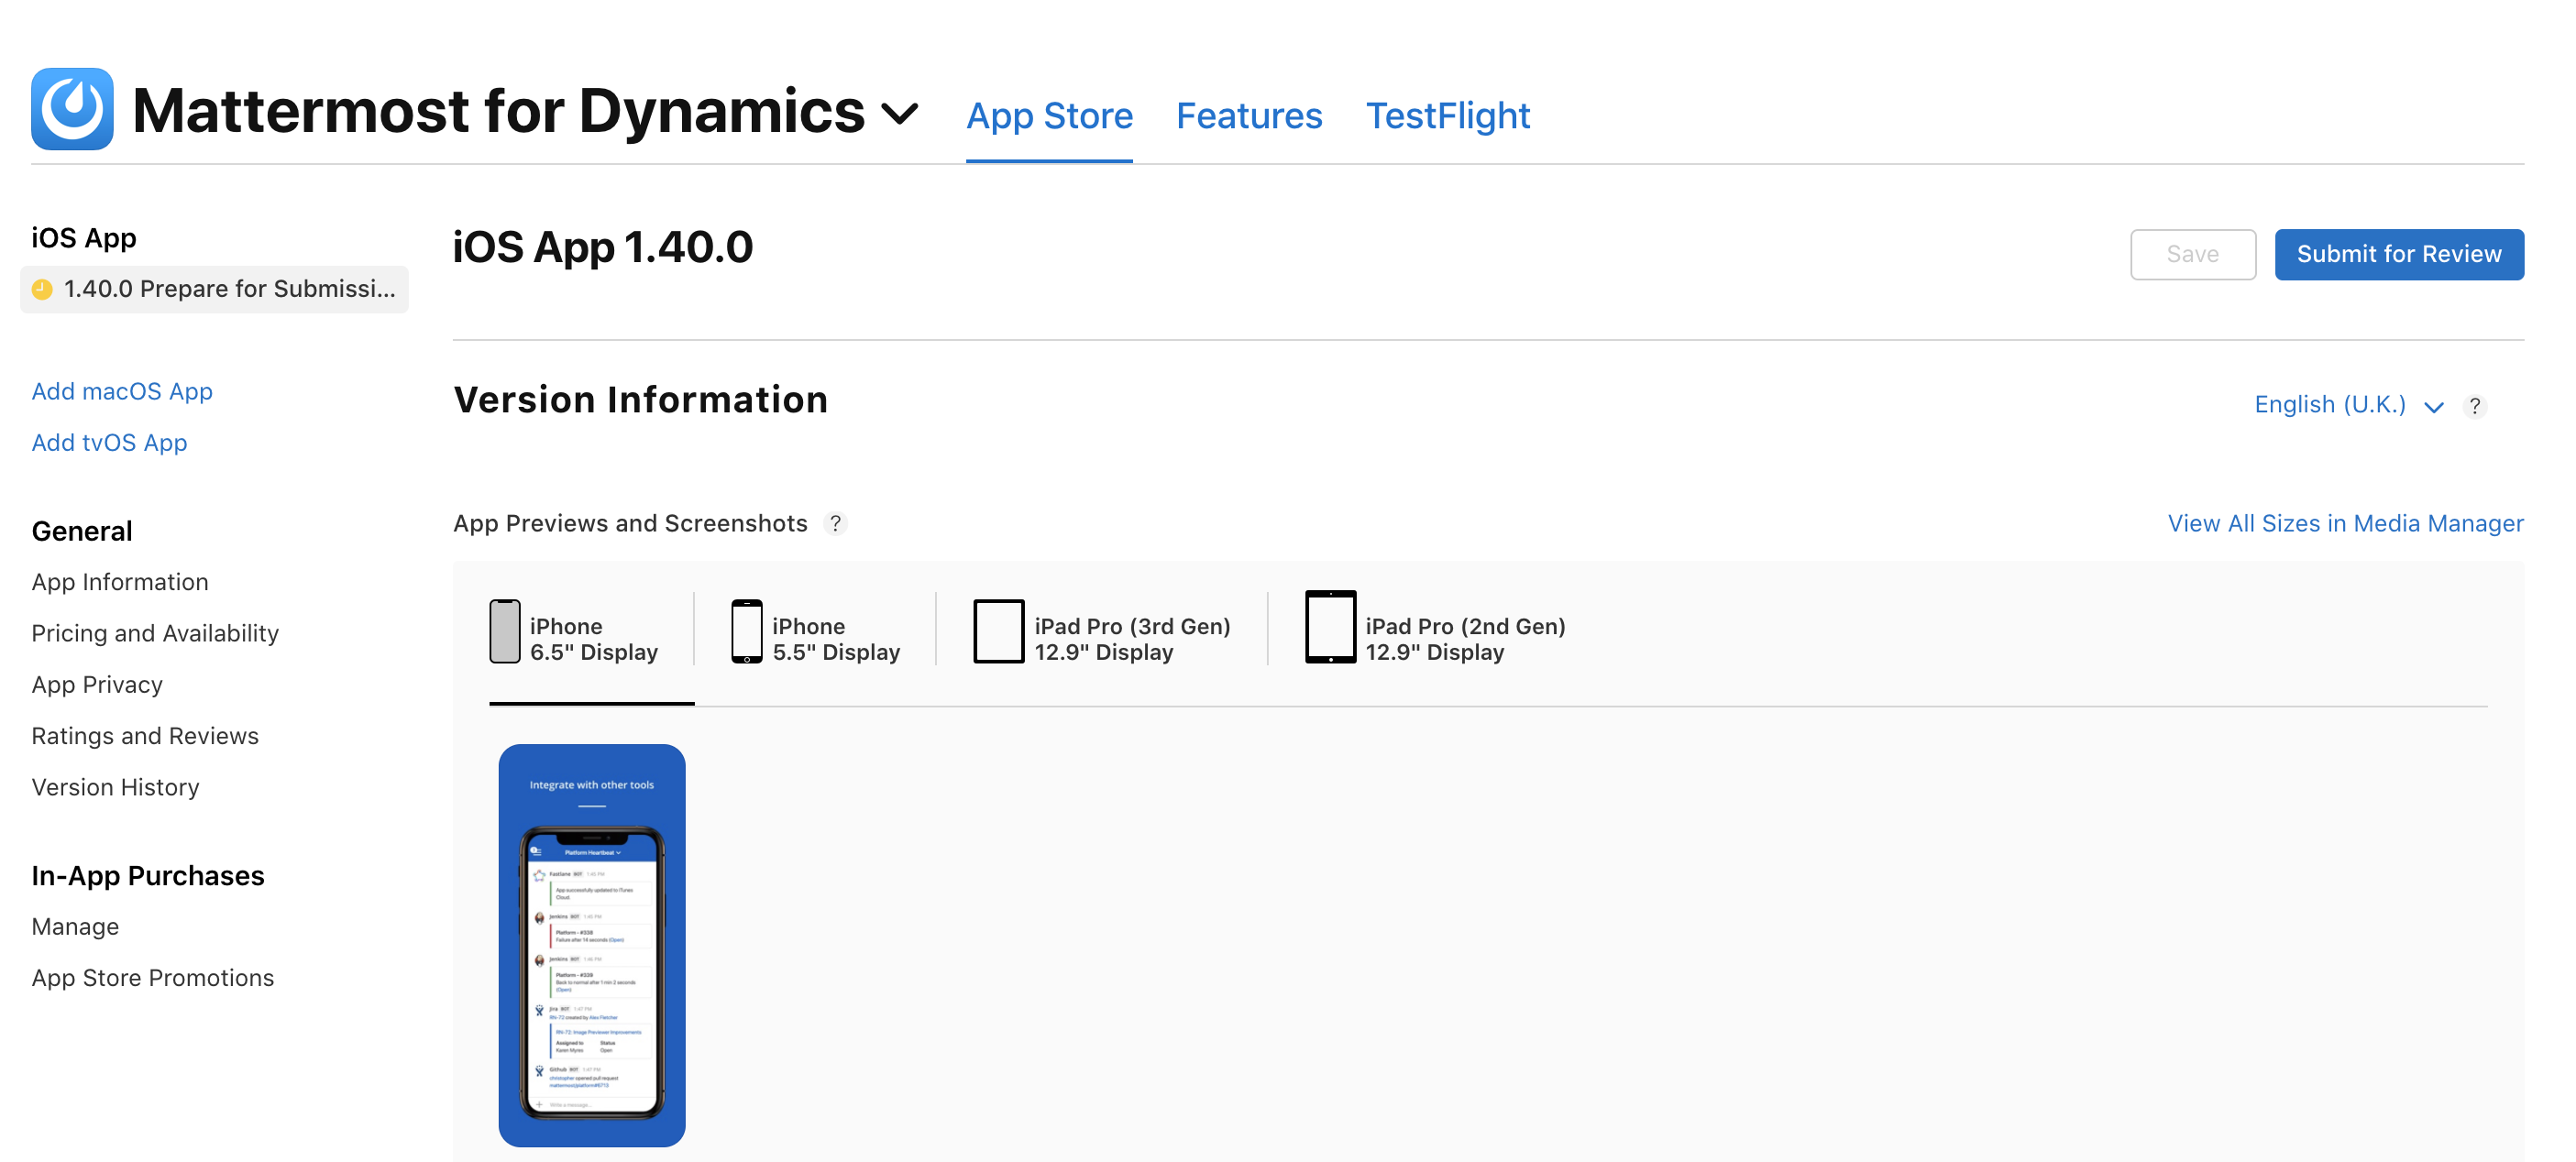
- Login to App Store Connect - https://appstoreconnect.apple.com/login and select Apps.
- Once within the apps space, you can see any existing apps and their status, or be able to create a new app.

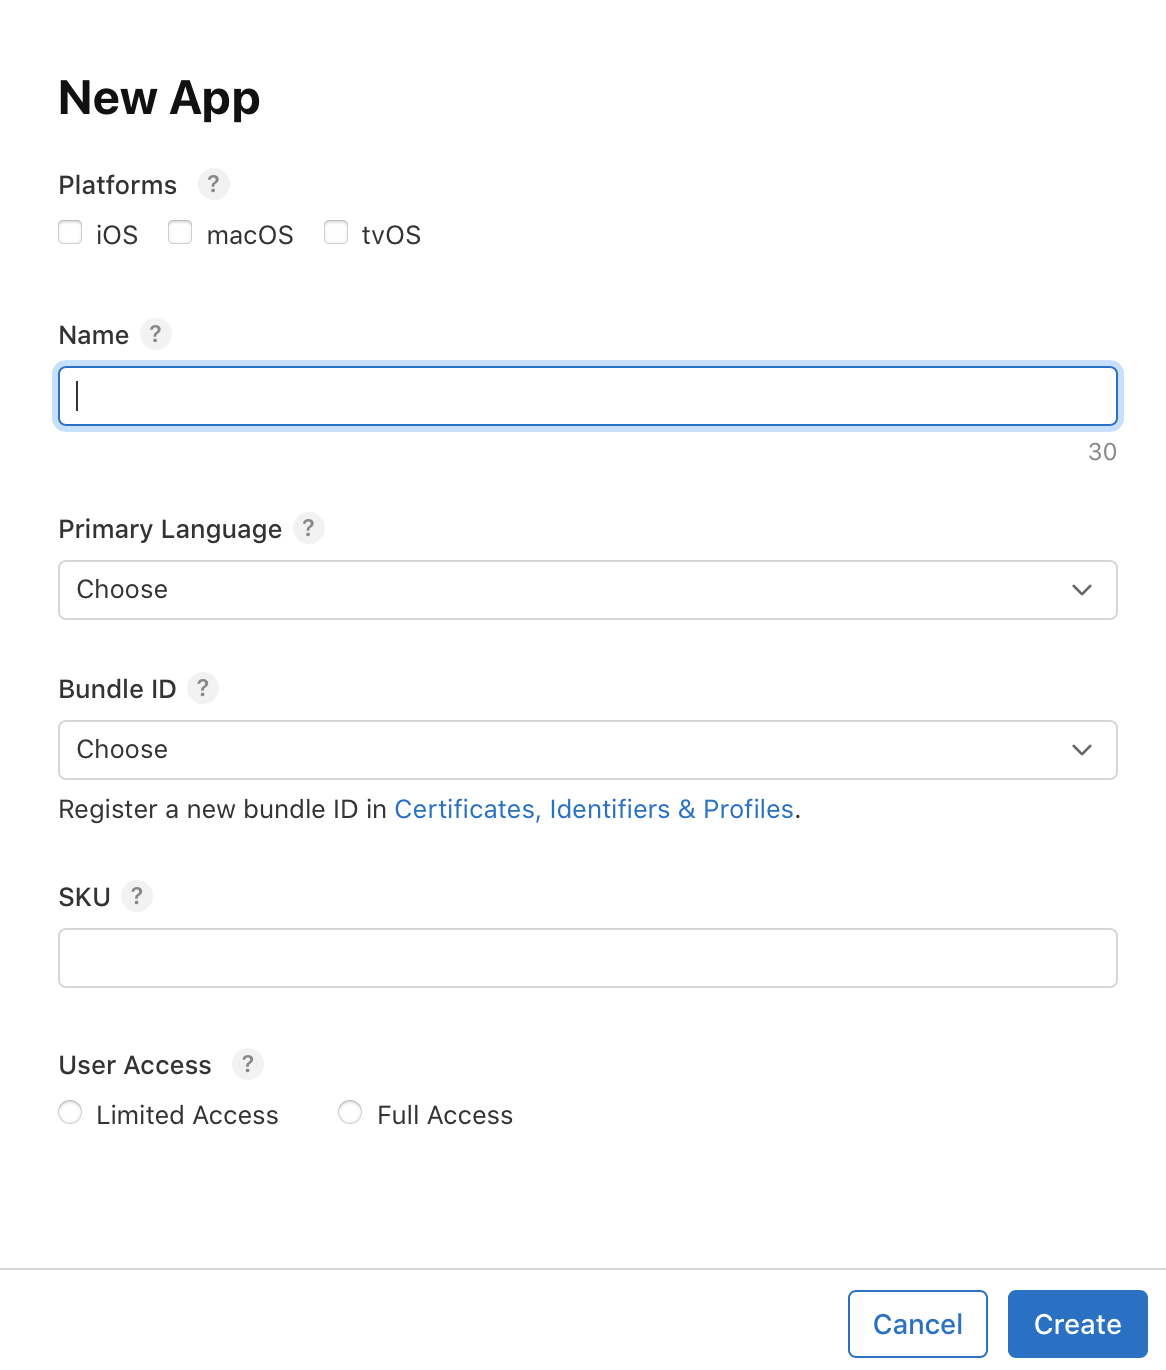
- Click the "+" next to Apps and select the option to create a new app.
- Once the app is created, complete the required app details such as Platform and Language. Be sure the Bundle ID of the app is already registered within your Apple Developer account and can be selected from the menu. The SKU will be a value you choose, but we recommend keeping it relevant to the app you will release.
- Complete all of the information that Apple requires, being careful to navigate through each category (such as App Information, Pricing and Availability, and so on), Guidance and tool-tips are provided by the App Store Connect website by hovering the mouse over the "?" icon within each section.
Once the Information has been completed, you are now at the stage to add your integrated app binary which requires the use of the Apple Transporter App for MacOS.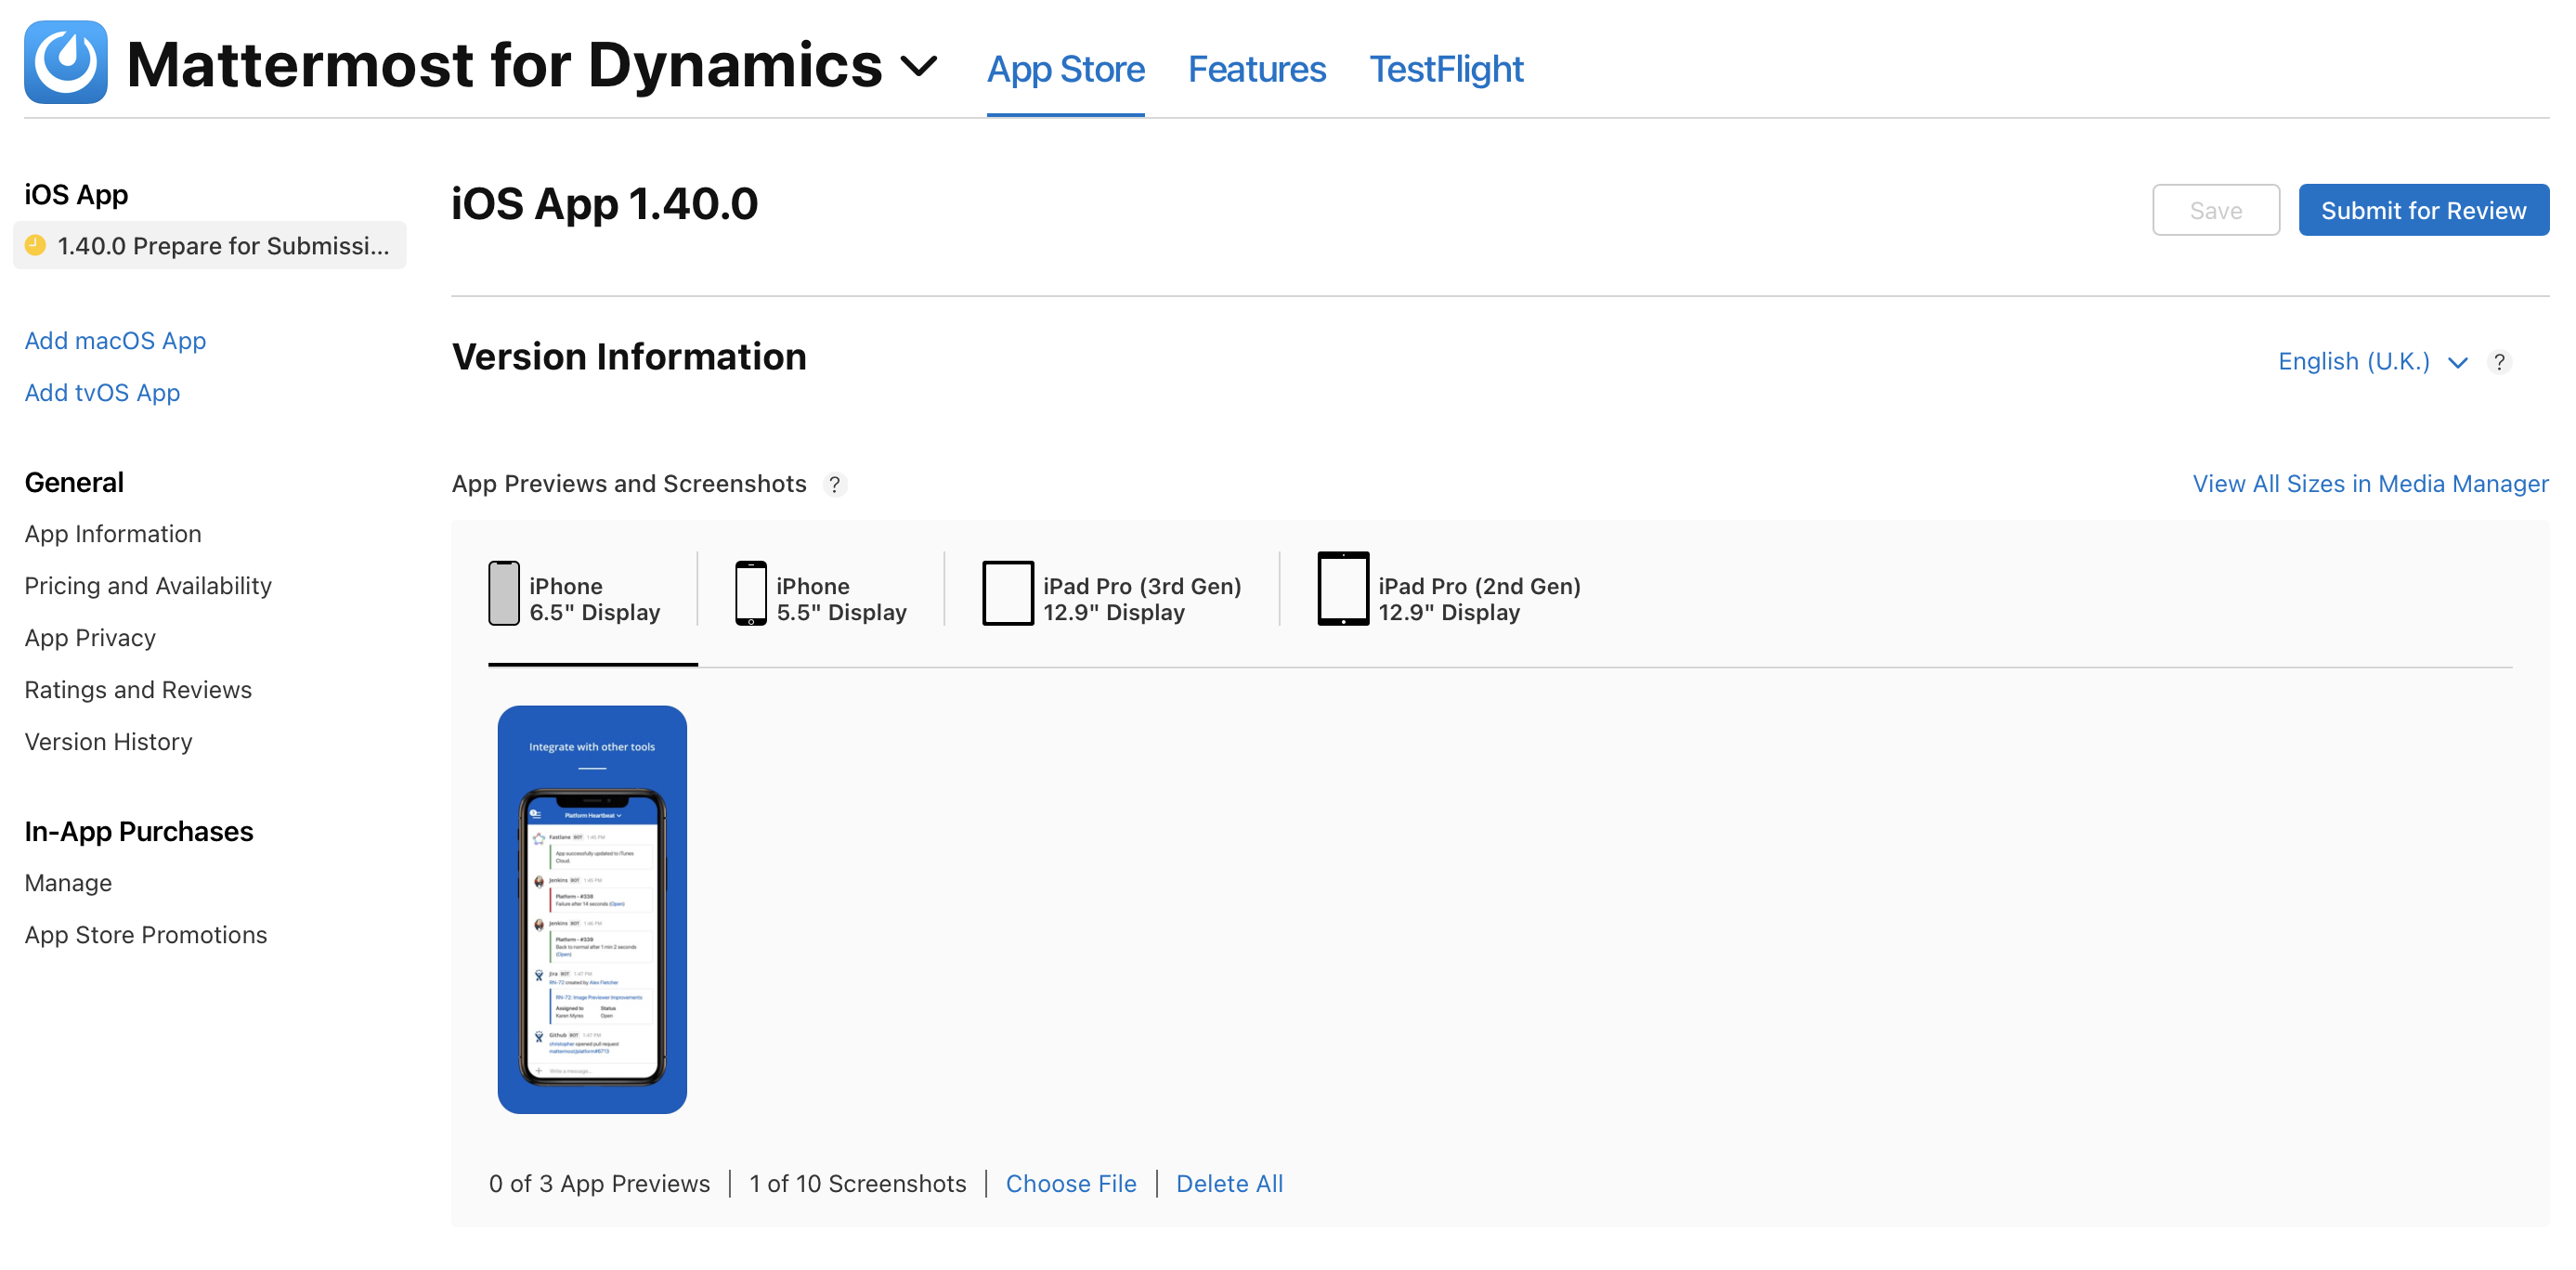
- In order to upload the app build into App Store Connect, download and install the "Apple Transporter App" for MacOS. Transporter is used to upload and verify your apps with Apple.
Once Launched, add your app to allow initial checks to be performed. Assuming the app is correctly integrated and in a good state, the app will show as ready to approve. If any issues are detected, Transporter will show you how many issues have been found, and offer guidance on the reasons behind the failure. Please correct these issues before proceeding.
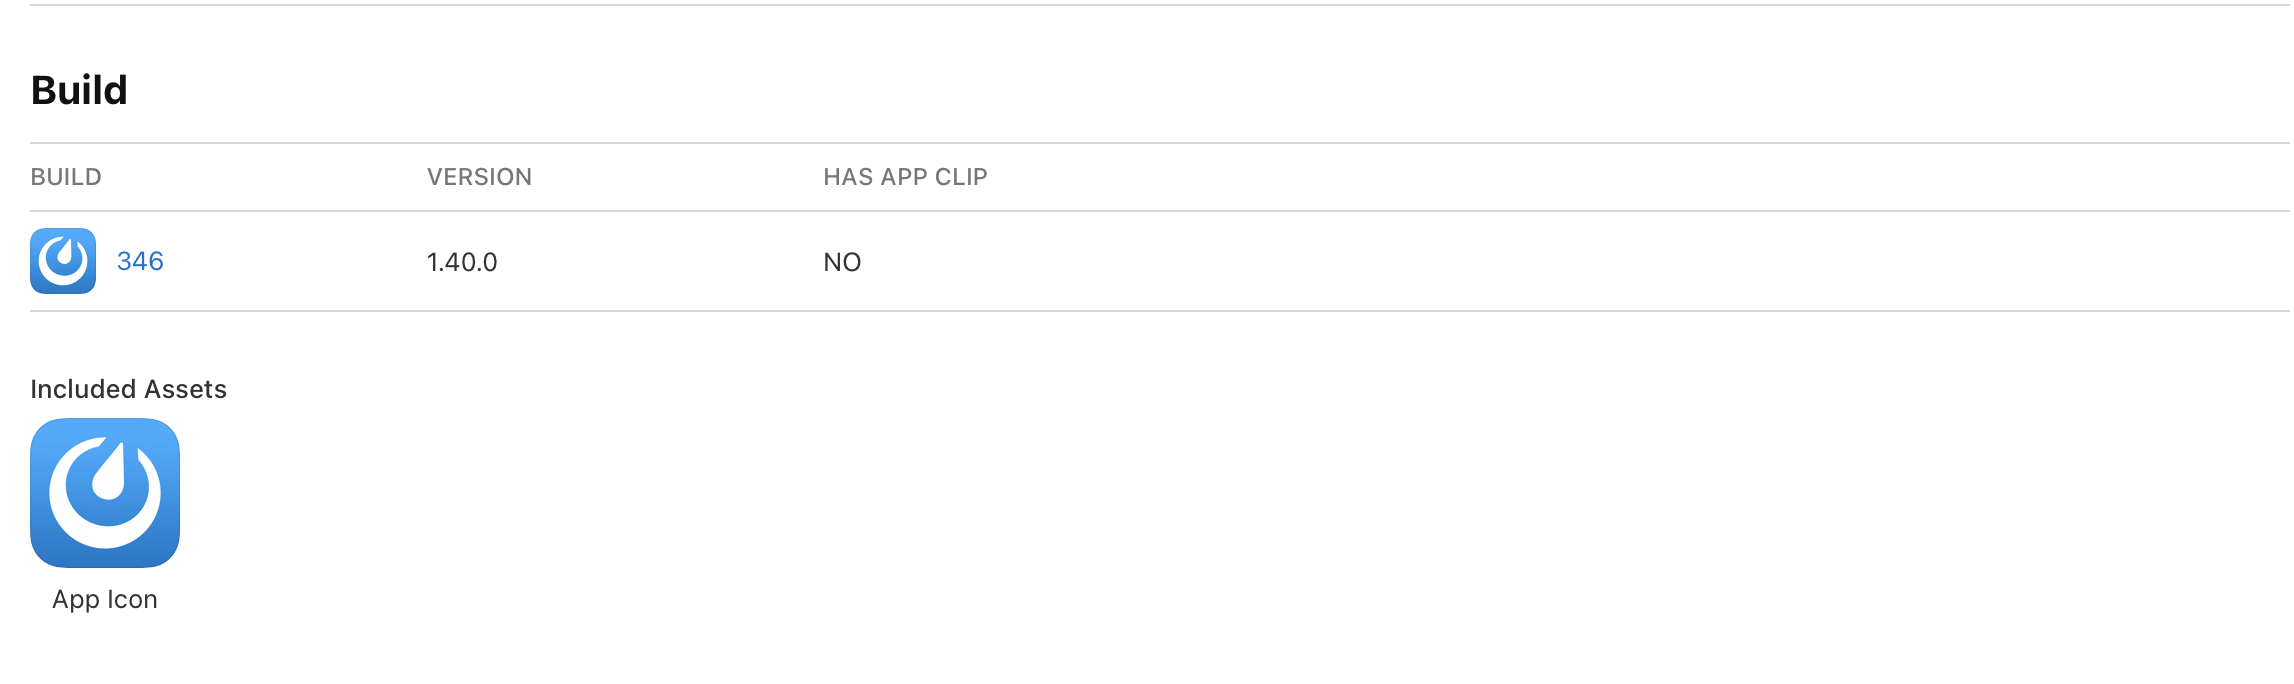
- After successfully uploading, your app builds appear within App Store Connect and can be added to your app project from the Build section of the default page.
- Congratulations, your app is now ready to submit to Apple for approval! Please select "Submit for Review." The process is now complete and the app is ready for distribution via Apple Business Manager.