
Integrating No-Code App Security
If you need to generate a mobile app with an SDK or library integrated into it, but you don't have the source code or don't have enough developers to perform the integration, you can use the Blue Cedar Platform to not only integrate the app with the SDK, but also orchestrate the process.
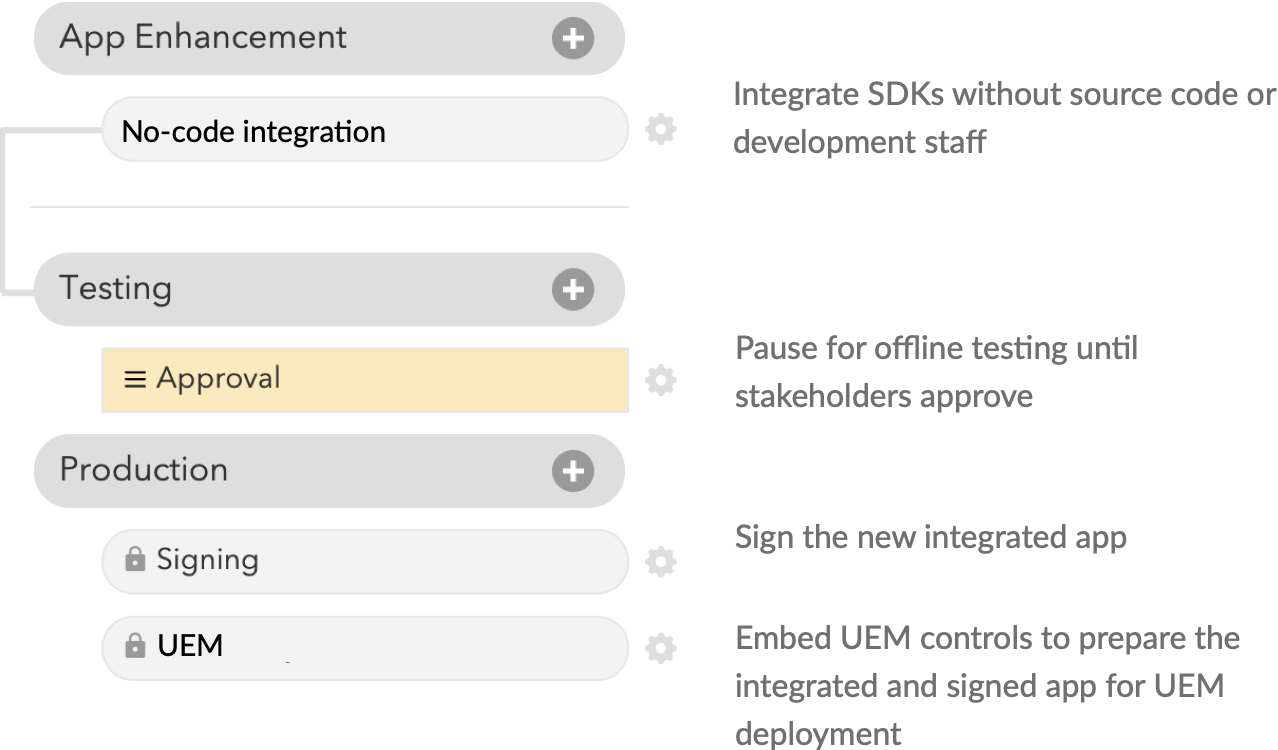
A typical workflow to integrate mobile security with an app using the Blue Cedar Platform might include these stages and steps:
This article walks through the process to import an app on the Platform and create this workflow—adding each step in order and configuring it for your environment—then run the workflow.
Prerequisites
This example requires you to have:
- A subscription and account on the Blue Cedar Platform
- Original versions of the mobile app you want to deploy—an iOS .ipa and/or an Android .apk
- A subscription or license for the SDK you want to add to your app
- A subscription or license to the UEM you use to deploy the app
Configuring extensions
On the Blue Cedar Platform, extensions are used to provide the Platform with access to tools, people and services. In our example, the signing and UEM steps are provided by extensions. Let's enable and customize them first so they're ready to go when we start to build the workflow.
| Extension | Setup |
|---|---|
| Signing | In the main menu, under Extensions, click Signing. Enable the signing extension, then click the configuration gear icon. You can create or import signing profiles for Android (keystore) or iOS (certificate). This profile will be available when you include the signing step in your workflow. See Extension - Signing for more details. |
| UEM | In the main menu, under Extensions, click Distribution. Enable the UEM extension, then click the configuration gear icon. Add a configuration profile for the UEM. See Extension - BlackBerry UEM for more details. |
Creating an app
Next, we need to create the app. Import an app file to the app list to create the app container. From the landing page for this new app, we'll create and run the workflow.
- From the main menu, click Apps to get to the App List.
- Click Add an App to import a new app—an iOS ipa or an Android apk file. The Blue Cedar Platform loads and processes the file, creating an entry for the app in the App List.
After importing the app, you are on the App Versions page. The breadcrumbs at the top of the page show "App List / App Name". As you add more versions (for example, updated releases or both iOS and Android), those versions are listed here.
See Managing apps and app versions for details.
Creating the workflow
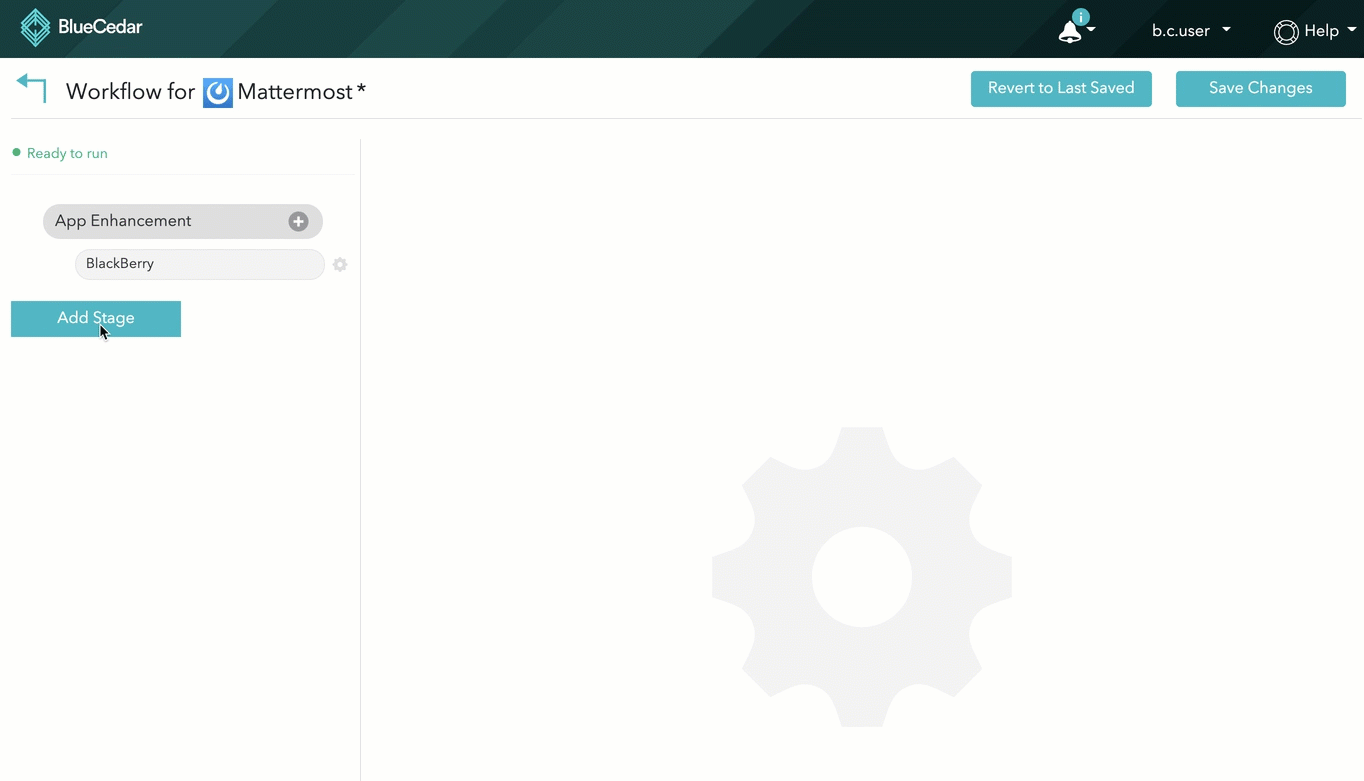
The App Versions page for your app is the main control page for an app and its workflow. To create or edit a workflow, click the Workflow button to get to the workflow builder.
To build the workflow shown in the image above, add the stages and the steps within each stage in order.
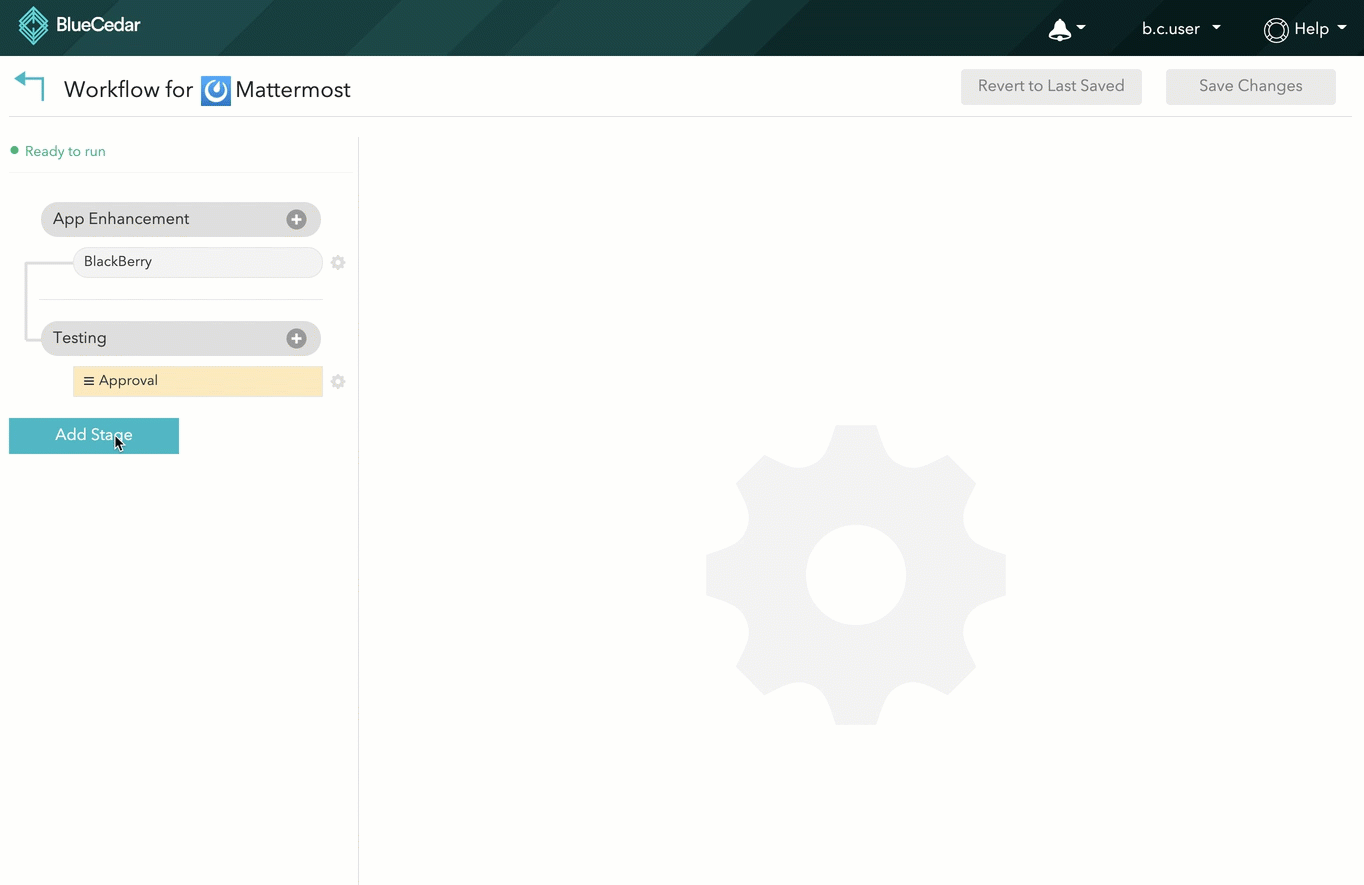
App Enhancement
On the workflow builder page, click Add Stage. Choose the BlackBerry no-code integration step, then specify the BlackBerry app entitlement info from your BlackBerry UEM instance.

Testing
Production
Now add a signing step and a BlackBerry UEM step to the Production stage.
- The signing step verifies the signing credentials and bundles everything you need to sign on your local signing server. The workflow pauses at the signing step and emails the notification list that the app is ready for signing. See Signing - External Signing by Blue Cedar for details.
- The BlackBerry UEM step prepares the app to be uploaded to your BlackBerry UEM instance.
Running the workflow
When you have created your workflow and it's ready to run, return to the App Versions page. There you can run the workflow on any version of the app. The workflow run details and status appear under the app version. Click on the workflow run name to see the status of the run and review and download artifacts.
Depending on the specific workflow activities and the size and complexity of the app, a workflow run can take several minutes. You can leave, work on other apps and workflows, and return to the workflow run page to check the status.
When the workflow gets to an approval or signing step, it pauses until someone verifies it can continue.
Approval:
- Platform sends email to designated users.
- Approver can check Dashboard > Deployment Workflow > Waiting On for a link to the Approval step.
- Click Approve to continue the workflow
Signing:
- Platform sends email to designated users.
- Signer can check Dashboard > Deployment Workflow > Waiting On for a link to the Signing step.
- Download the ready-to-sign app bundle
- Sign the app on a local signing server
- Upload the signed app to the platform to continue the workflow
Downloading the artifacts
When your workflow has successfully completed, you can download your integrated and signed app, ready to upload to your BlackBerry UEM.
- From the main menu, click Apps to get to the App List.
- Expand the app version, and click on the workflow run.
- Click Artifacts, and download the binary.