
Browser Configuration profiles (UI)
Configuring the Browser Configuration profile
To customize the user interface of the browser, you must first create a browser profile. The profile contains all the configured settings for securing Compass.
Browser profiles are designed to create multiple versions of Compass for different user groups. For instance, you may use one profile for "executives" and another profile for "contractors." Each profile can configure specific sites and other customization features (such as color).
On the Apps page, click the Blue Cedar Apps tab, which displays both the Android and iOS versions of Compass. Alternately, click the iOS tab or the Android tab and look for Compass.
Choose the appropriate Compass (Android or iOS).
Click the Browser Configuration settings gear. The Policy details page appears, where you can create a new profile or edit an existing profile.
On the Policy details page, click + Browser Profile to create a new profile, or click the View/Edit profile (pencil) icon next to an existing profile to edit it.
On the Browser Configuration profile page, enter the Profile name and description, then select the desired policy options.
| Field | Description |
|---|---|
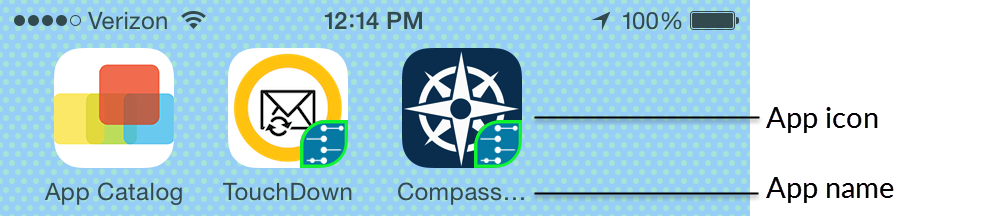
| App name | Enter the app name that appears with the app icon when displayed on the home screen of the device.
|
| App icon | Click Change File > Choose File to select a customized icon for Compass. If you want to use the default icon that Blue Cedar provides for Compass, check Reset to Blue Cedar icon. Note: If you do not choose a customized icon or check the Reset to Blue Cedar icon box, the injectable uses the default icon. |
| Theme color | Optional. To change the color of the bar under the top navigation bar in the browser, choose a specific color from the Theme Color menu or enter the hex color value in the Theme Color box. Note: If you use a REST API call instead of the policy console web interface to set the theme color, you must convert the color's hex number into an unsigned long data type. |
| Home page | Optional. Enter a URL to set the first HTML page that Compass displays when a new tab opens. Note: If no URL value is provided for this parameter, by default, a new tab opens to the Launch Pad page. |
| Web app list configuration | For each web site that you want to add to the Web App List (the sites that appear on the Launch Pad):
To remove the web site from the Web App List, click the X next to that site's entry. Note: If you do not include any web sites in this list, the user does not see any Launch Pad options. |
| Compass app options | Optional actions you can allow the mobile device user to perform. These options may appear in the navigation bar or the tool bar. By default, all options are turned off. To make the option available for a user, enable it by selecting the option. Note: Not all options are available for both iOS and Android devices.
|
| Advanced > Custom app ID | (iOS only) This setting can be used to customize the iOS bundle ID for the Compass app. Administrators can use this ID to replace an older Compass with a new secured Compass. Only change this setting when directed by Blue Cedar support. |
| Advanced > App query schemes | (iOS only) Use this setting to add custom URL schemes to allow Compass to open external apps. |
When satisfied with your configuration, click Save changes. Click Reset to restore the configuration of the browser profile back to the previous version. Click Cancel if you want to start again.
Applying security policies to Compass
This procedure explains how to add Blue Cedar policies that enforce the security of Compass.
On the Apps page, click the Blue Cedar Apps tab, which displays both the Android and iOS versions of Compass. (Alternately, click the iOS tab or the Android tab and look for Compass.)
Click the appropriate Compass (Android or iOS). The App details page appears.
Under Policies to apply, click the triangle to expand the Browser Configuration panel.
Select "Enable Browser Configuration policy" and choose a browser profile from the menu.
Expand the Secure Microtunnel panel, enable the Secure Microtunnel policy, and choose a Secure Microtunnel profile. If you haven't already configured a profile, see Secure Microtunnel.
Choose any of the other policies you want to secure the Compass app with. See Blue Cedar security policies.
Click Apply policies.