
Blue Cedar Enforce Localization
App localization provides the functionality to add custom translation and strings to your integrated app. You can upload a JSON file containing strings to replace default strings. This feature allows you to specify language and region codes and specify non-American English prompts, or to replace default strings with your organization's preferred terminology. The JSON file must be encoded as UTF-8 to handle non-ASCII characters such as Cyrillic or Hindi. The app localization is applied during the workflow run and embedded into the integrated app. These translations appear when the user sets the device to the appropriate language.
Note: On Android, users must restart apps after setting the device language for the change of language to take effect.
Configure Localization File
To add translation strings for localizing your integrated app, follow this procedure:
Download the BlueCedar-Localization.JSON template file provided with the Blue Cedar Platform.
Edit the file and make a copy of the default English strings.
Edit the values of the language, region, and strings keys in the JSON file.
Upload the customized strings file.
Details for each of these steps are described below.
Downloading the template file
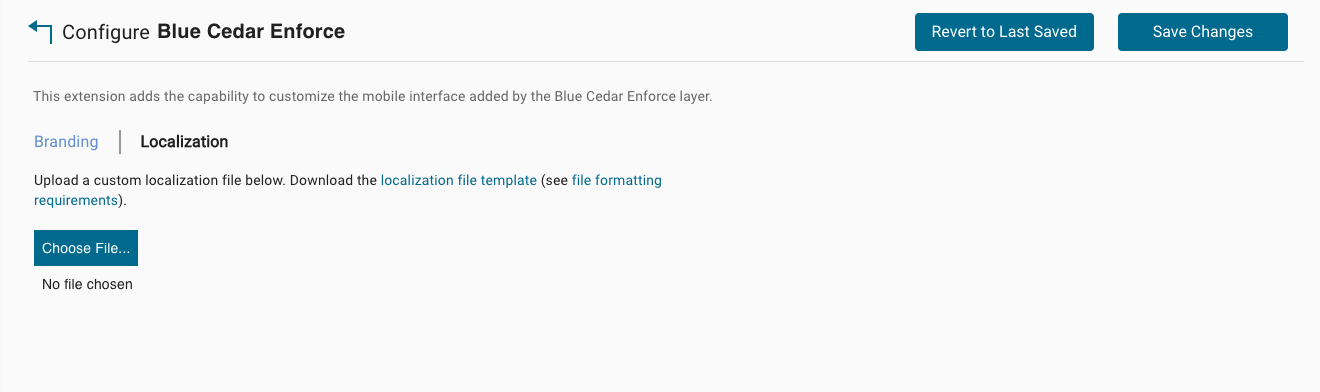
From the Configure Blue Cedar Enforce page, select the Localization tab and download the Platform BlueCedar-Localization.JSON template file by clicking on the "localization file template" link.
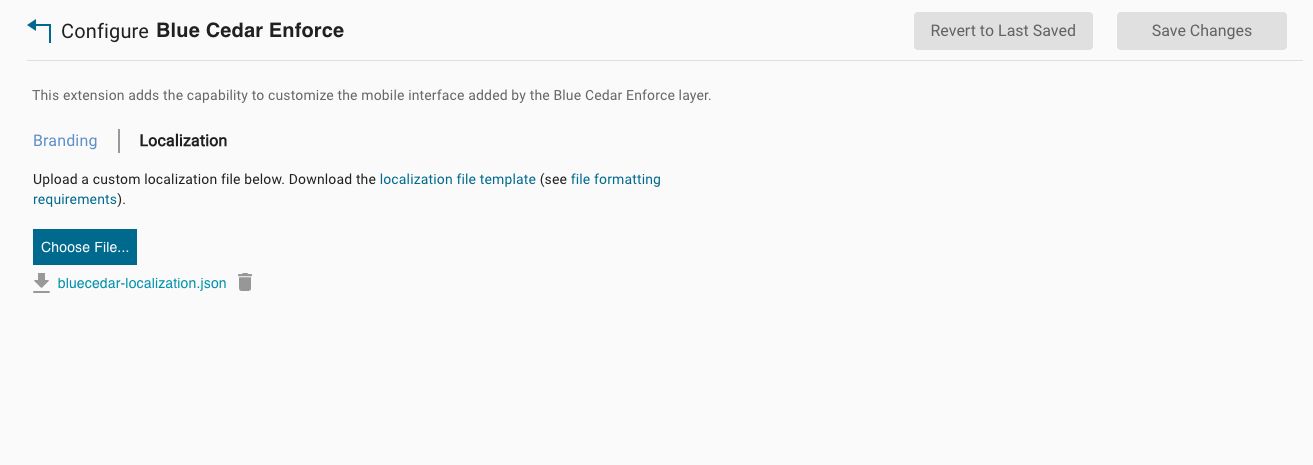
If you have previously uploaded a localization file, you can click on the Download icon or filename below the Choose File... button to download the file.
If you want to delete the localization file previously uploaded, click on the Trash icon by the file name.
Editing the translation strings file
To create a set of strings for a new language, make a copy of the American English section, including the language, region, and strings. Then edit the values in the new section. If you do not expect to need a translation for a string, you can translate it anyway or leave the English string, but do not remove the entry from the strings object.
To customize the English strings, edit the en-US section. You can use your organization's terminology or customize in other ways, but you must retain all of the entries in the strings object.
JSON file format
Use a JSON file to specify the strings. The translations file includes an array of translation locales, where each locale includes language code, region code, and a strings object with key/value pairs for each string.
Note: The JSON file must use UTF-8 encoding to display non-ASCII characters such as Cyrillic, Greek, and Asian languages.
When you are done editing your localization file you can validate your JSON at the following url: https://jsonlint.com.
Example JSON
Uploading the customized file
To upload a customized file, select the Choose File... button.
Note: If you are uploading a modified localization file you must reintegrate your apps for the localization changes to apply.